If you follow me on social media you probably noticed I've been crapping on about stickers lately and in particular, this set of Apple stickers:
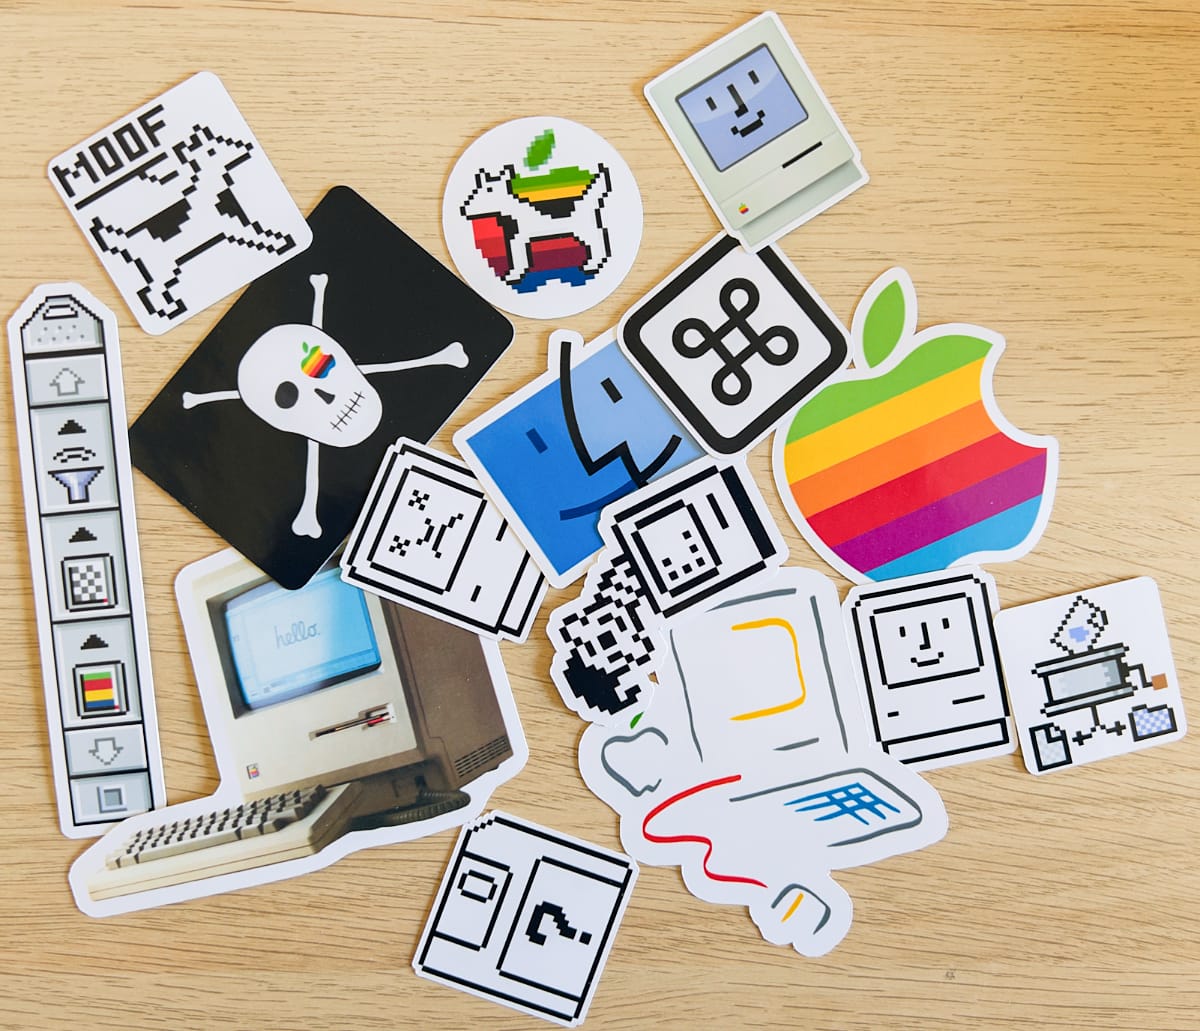
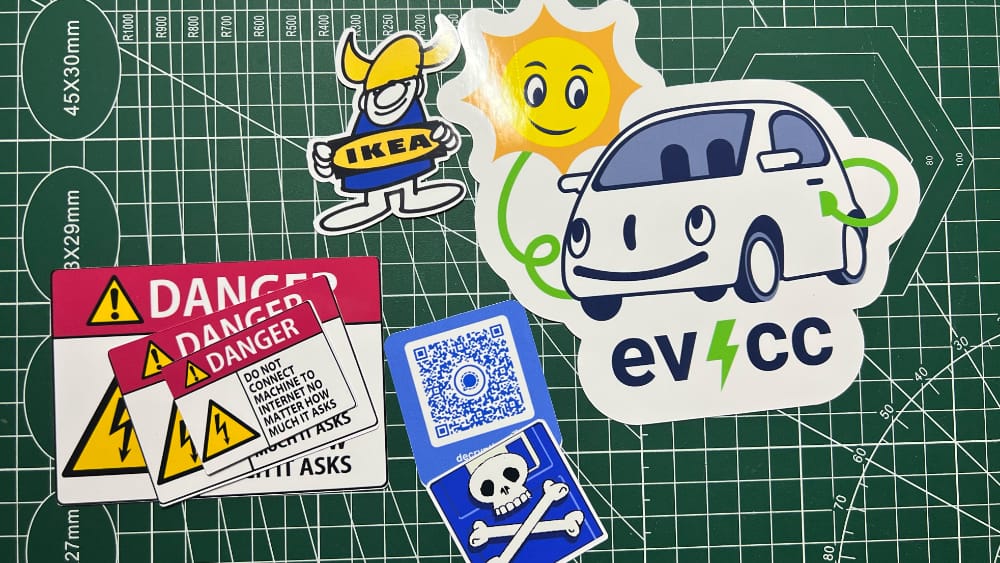
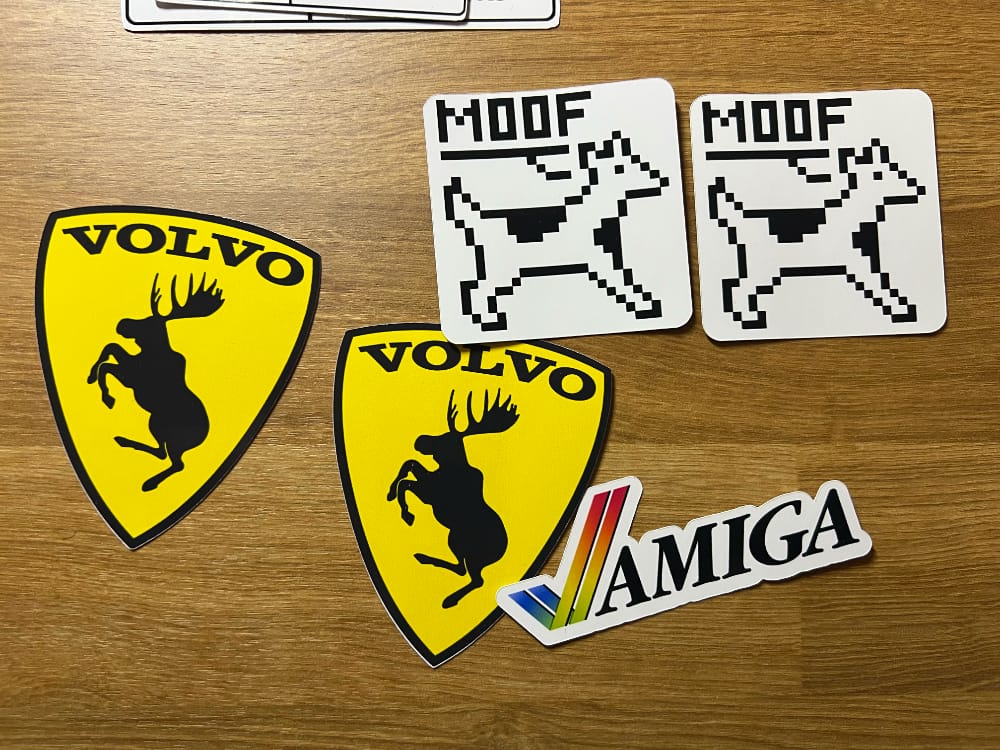
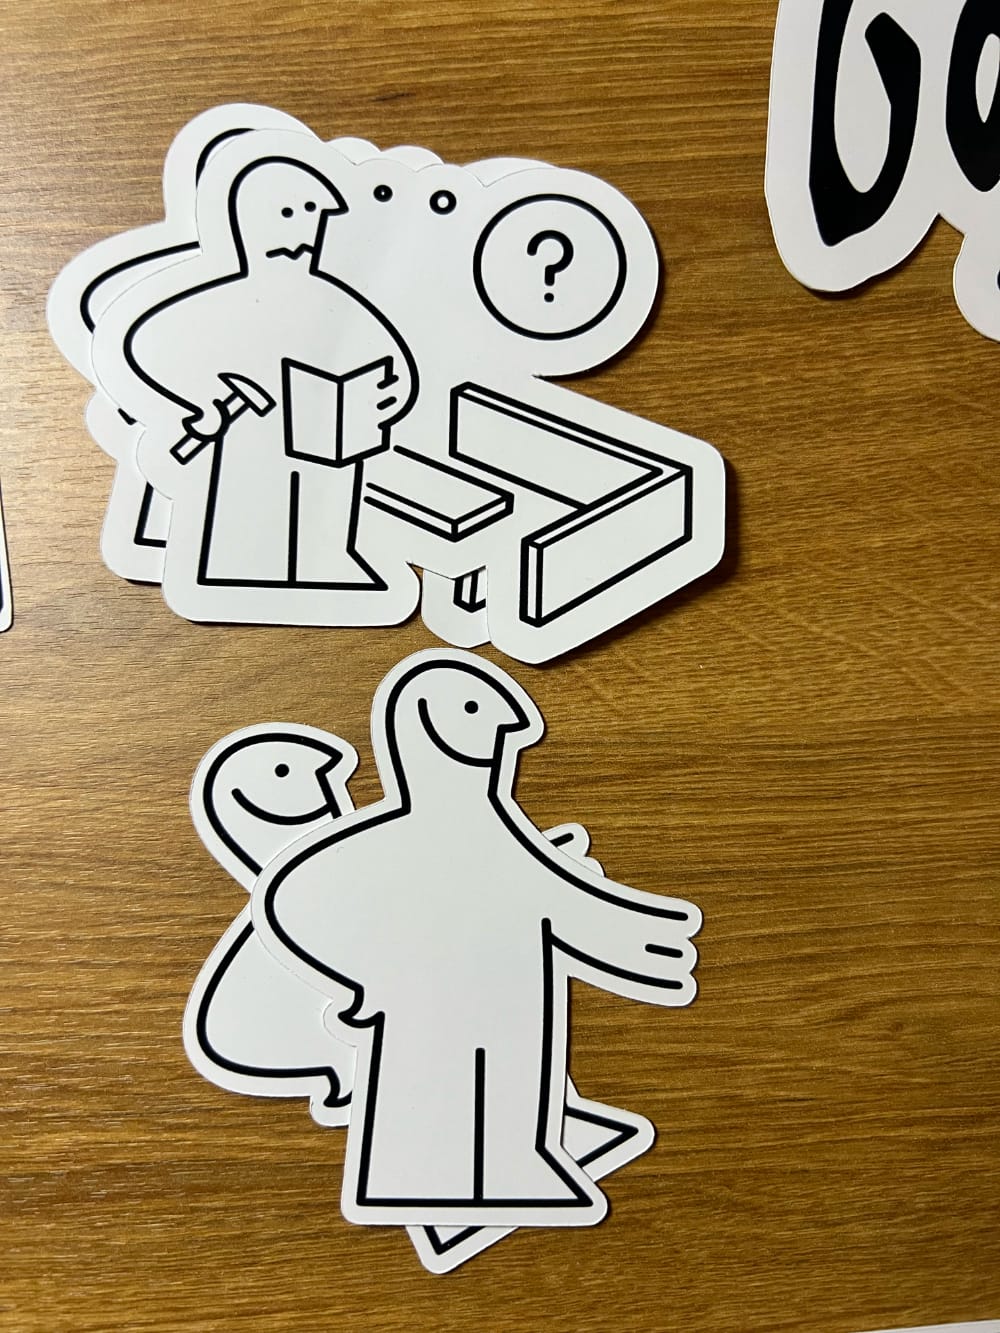
But I've made many other sets in the past for myself and for friends. Some examples:
People often ask how I do it so here's a blog post explaining the process and some practical tips for anyone who wants to start their own sticker factory at home.
The stickers are printed on an Epson ET-8550.
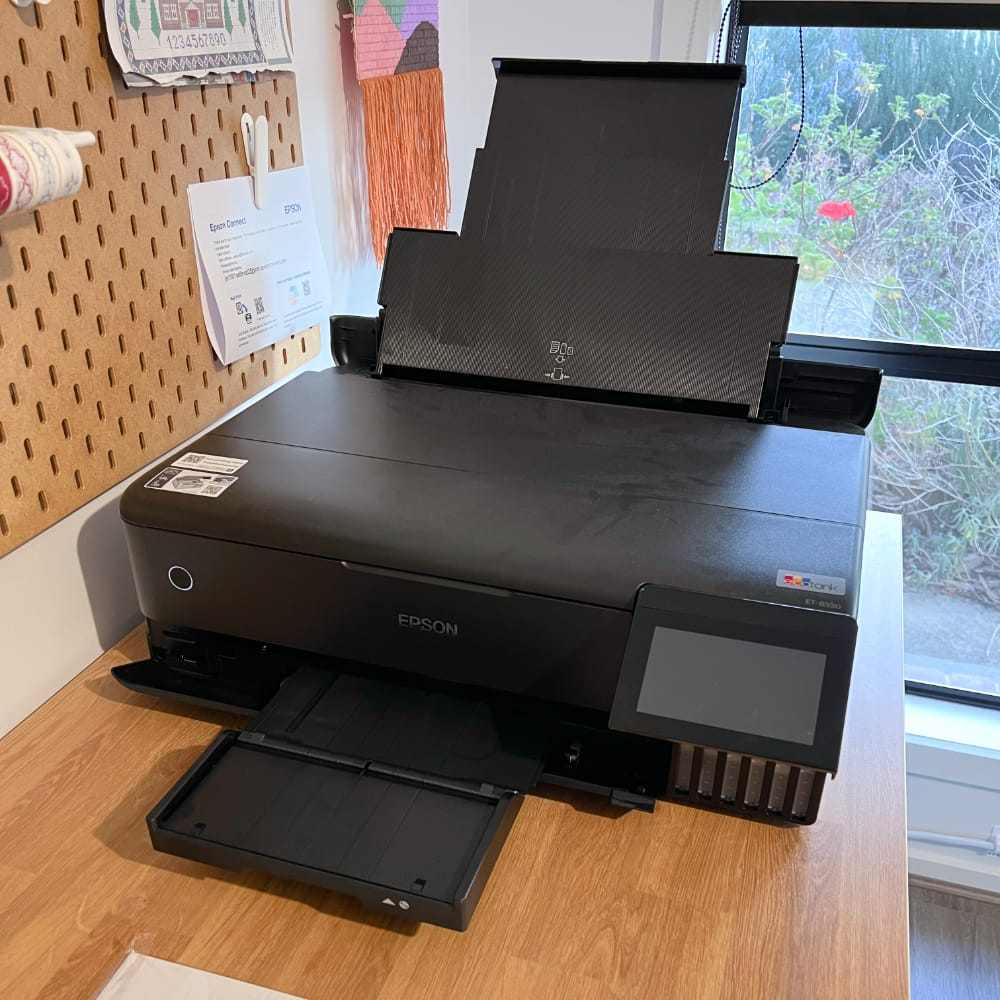
This printer fucken rules. It's not cheap (~A$1,000) but it prints A3 sized photos and the ink to do so is very affordable at $182 for a set of 6 bottles that last ages. There's also an A4 version called the ET-8500 and it's the exact same but a bit cheaper. The YouTube video below is a good watch if you're interested in buying one. Printerville did a great review of the ET8500/ET8550 too.
To get the best results out of a modern inkjet printer, you need to use the right kind of paper. That's way more important than the brand or how expensive the printer is. After a lot of trial and error, I've settled on AGFA A4 Glossy Self-Adhesive Photo Paper 135gsm from Officeworks.
It's the best mix of price and quality, plus it's easy to get whenever I need more. $7.98 for a pack of 20 sheets makes it just 40c a sheet. The paper and inks are water resistant, but I'm unsure of their UV stability. This report from Wilhelm Imaging Research goes into loads of detail about "display permanence" and "storage permanence" of photo prints out of the ET-8550, but that's different than direct outdoor sunlight.
The only setting I modify from the defaults is setting the paper type to Epson Photo Quality Ink Jet. I've tinkered with most of the settings and for the purpose of stickers I couldn't notice any difference between high quality or quality and none of the other included paper types are even close to the AGFA glossy photo paper.
My wife purchased a Cricut Maker many years ago and has a heap of fun doing crafty stuff with it.
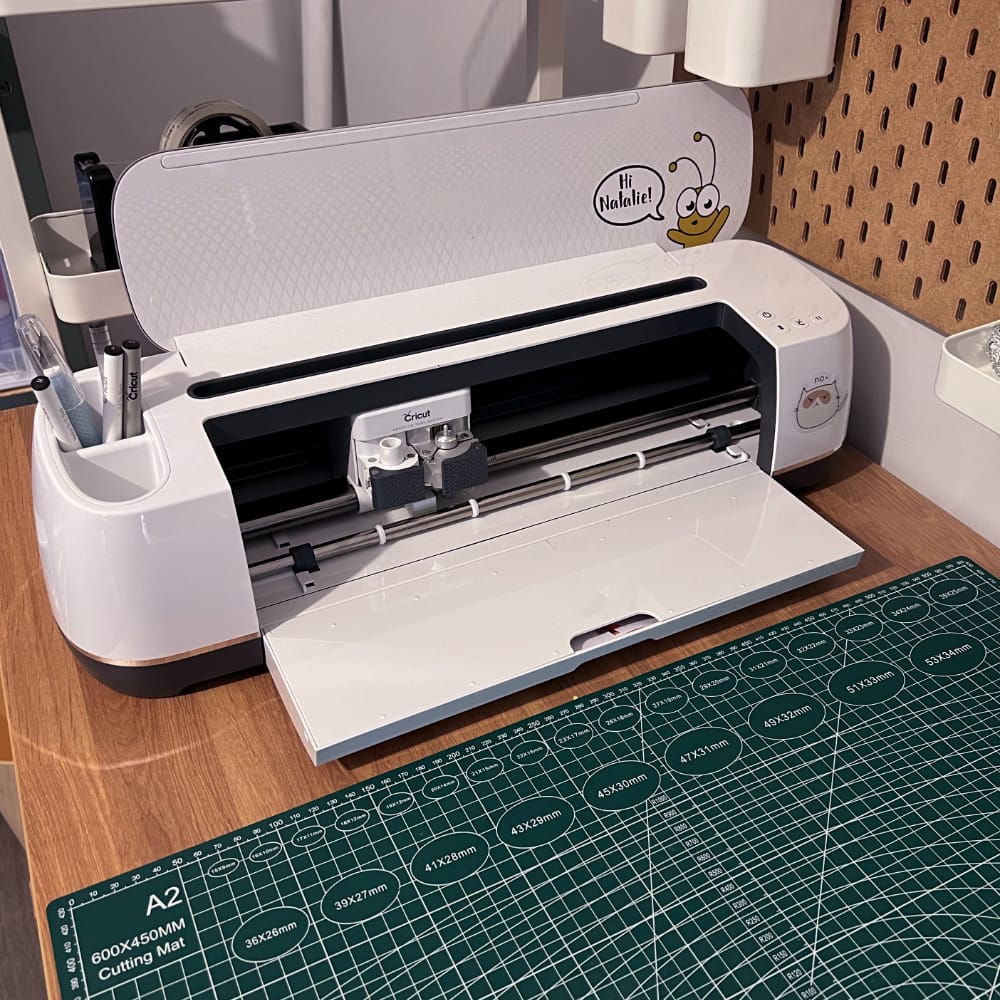
It's basically a plotter/printer with interchangeable tools. Instead of a fixed pen, or a fixed blade, you can swap around tools like an engraving/etching blade, foil transfer kit, scoring wheels, embossing tip, perforation blade and heaps more. You put your material on a sticky mat and the material moves in and out of the machine while the tool lifts up and down on the material for the desired effect (drawing, cutting, etc). This video explains the newest version of the Cricut Maker:
If all I wanted to do was print & cut stickers the Cricut Joy Xtra would be what I get. The Maker is cool if you're using larger material sizes and using multiple tools, but if you're just cutting stickers out of A4 paper, the Xtra is cheaper and smaller.
Recently Cricut added a feature called Print Then Cut to their Design Space software and then updated it to have a Sticker feature. The Cricut can even do "kiss cut" stickers that do a deep cut through the paper and then a lighter cut through just the adhesive part of the paper so that you can peel the sticker off nice and easily. The biggest size you can make a sticker depends on your machine.
Cricut's blog post explains all the Print & Cut and Sticker stuff pretty well so I won't repeat myself here, plus there's loads of videos on YouTube, like this one:
Here's a video of my Cricut in action, cutting away on some stickers:
Here's some practical tips for saving money, time and getting a better quality result that I mostly figured out by trial and error!
The best setting I've used for the Agfa paper is "sticker paper green backing" in the Cricut presets. It does two passes of the paper so it's slower, but it cuts properly every time. Also works well when doing kiss cut stickers. No need to change the blade pressure, default is fine.
I change the blades when I notice a lot more "dust" building up from cutting the sticker paper. You could probably let them go longer, but they're so cheap I just change them as soon as I see a non-perfect cut. Same with the sticky mats. I replace them when the paper starts to lift with even a gentle bend. I used the same two mats for all 100+ of those Apple sticker sheets and changed the blade once. They last a long time.
AliExpress is great for Cricut supplies. Blades are only $17 for 100 versus $20 for two official Cricut ones from Spotlight. Mats are also only $17 for a pack of four versus $20 for just a single official Cricut mat at Spotlight. I haven't noticed any quality difference between these and Cricut's.
The Design Space's Sticker feature is pretty good at adding a border around the image, but often it doesn't smooth out the edges (e.g: hair or grass) so when it comes to cut, it's a horrible mess of very fine little cuts. Not only does it take a long time to do instead of a single straight or curved edge, it feels like it's fucking with the Cricut's motors. So depending on the image, I'll add an outline/border in Photoshop manually (use the magic wand to select the subject, then use the Stroke tool to add a fat white border around) so it's more appropriate for cutting.
If I have an odd-shaped image that I want to place in a cricle or a roundrect, I do this in the Design Space. Drop a shape, colour it white, place the image on top of the shape, align it and then "flatten" the image and shape together. Here's a video of what I'm talking about:
Don't trust the Design Space's automatic layout when you go to cut your stickers. I manually lay them out to fit all the stickers on a single page where the automatic layout spreads it out over two pages.